
It was basic kitchen chemistry but it felt like magic. I had never made butter as an adult, and now having just finished I was truly amazed. It seemed like it had separated in an instant, turning from a homogenous white substance into a clump of yellow butter submerged in translucent buttermilk. The taste was incredible and incomparable to any store bought butter I had ever tasted. My only thought was, why had I not done this sooner?
I had decided to attempt making the butter a few weeks prior. I kept returning to this childhood memory of churning butter at a day camp down the road from my grandmother’s home. I still remember each of u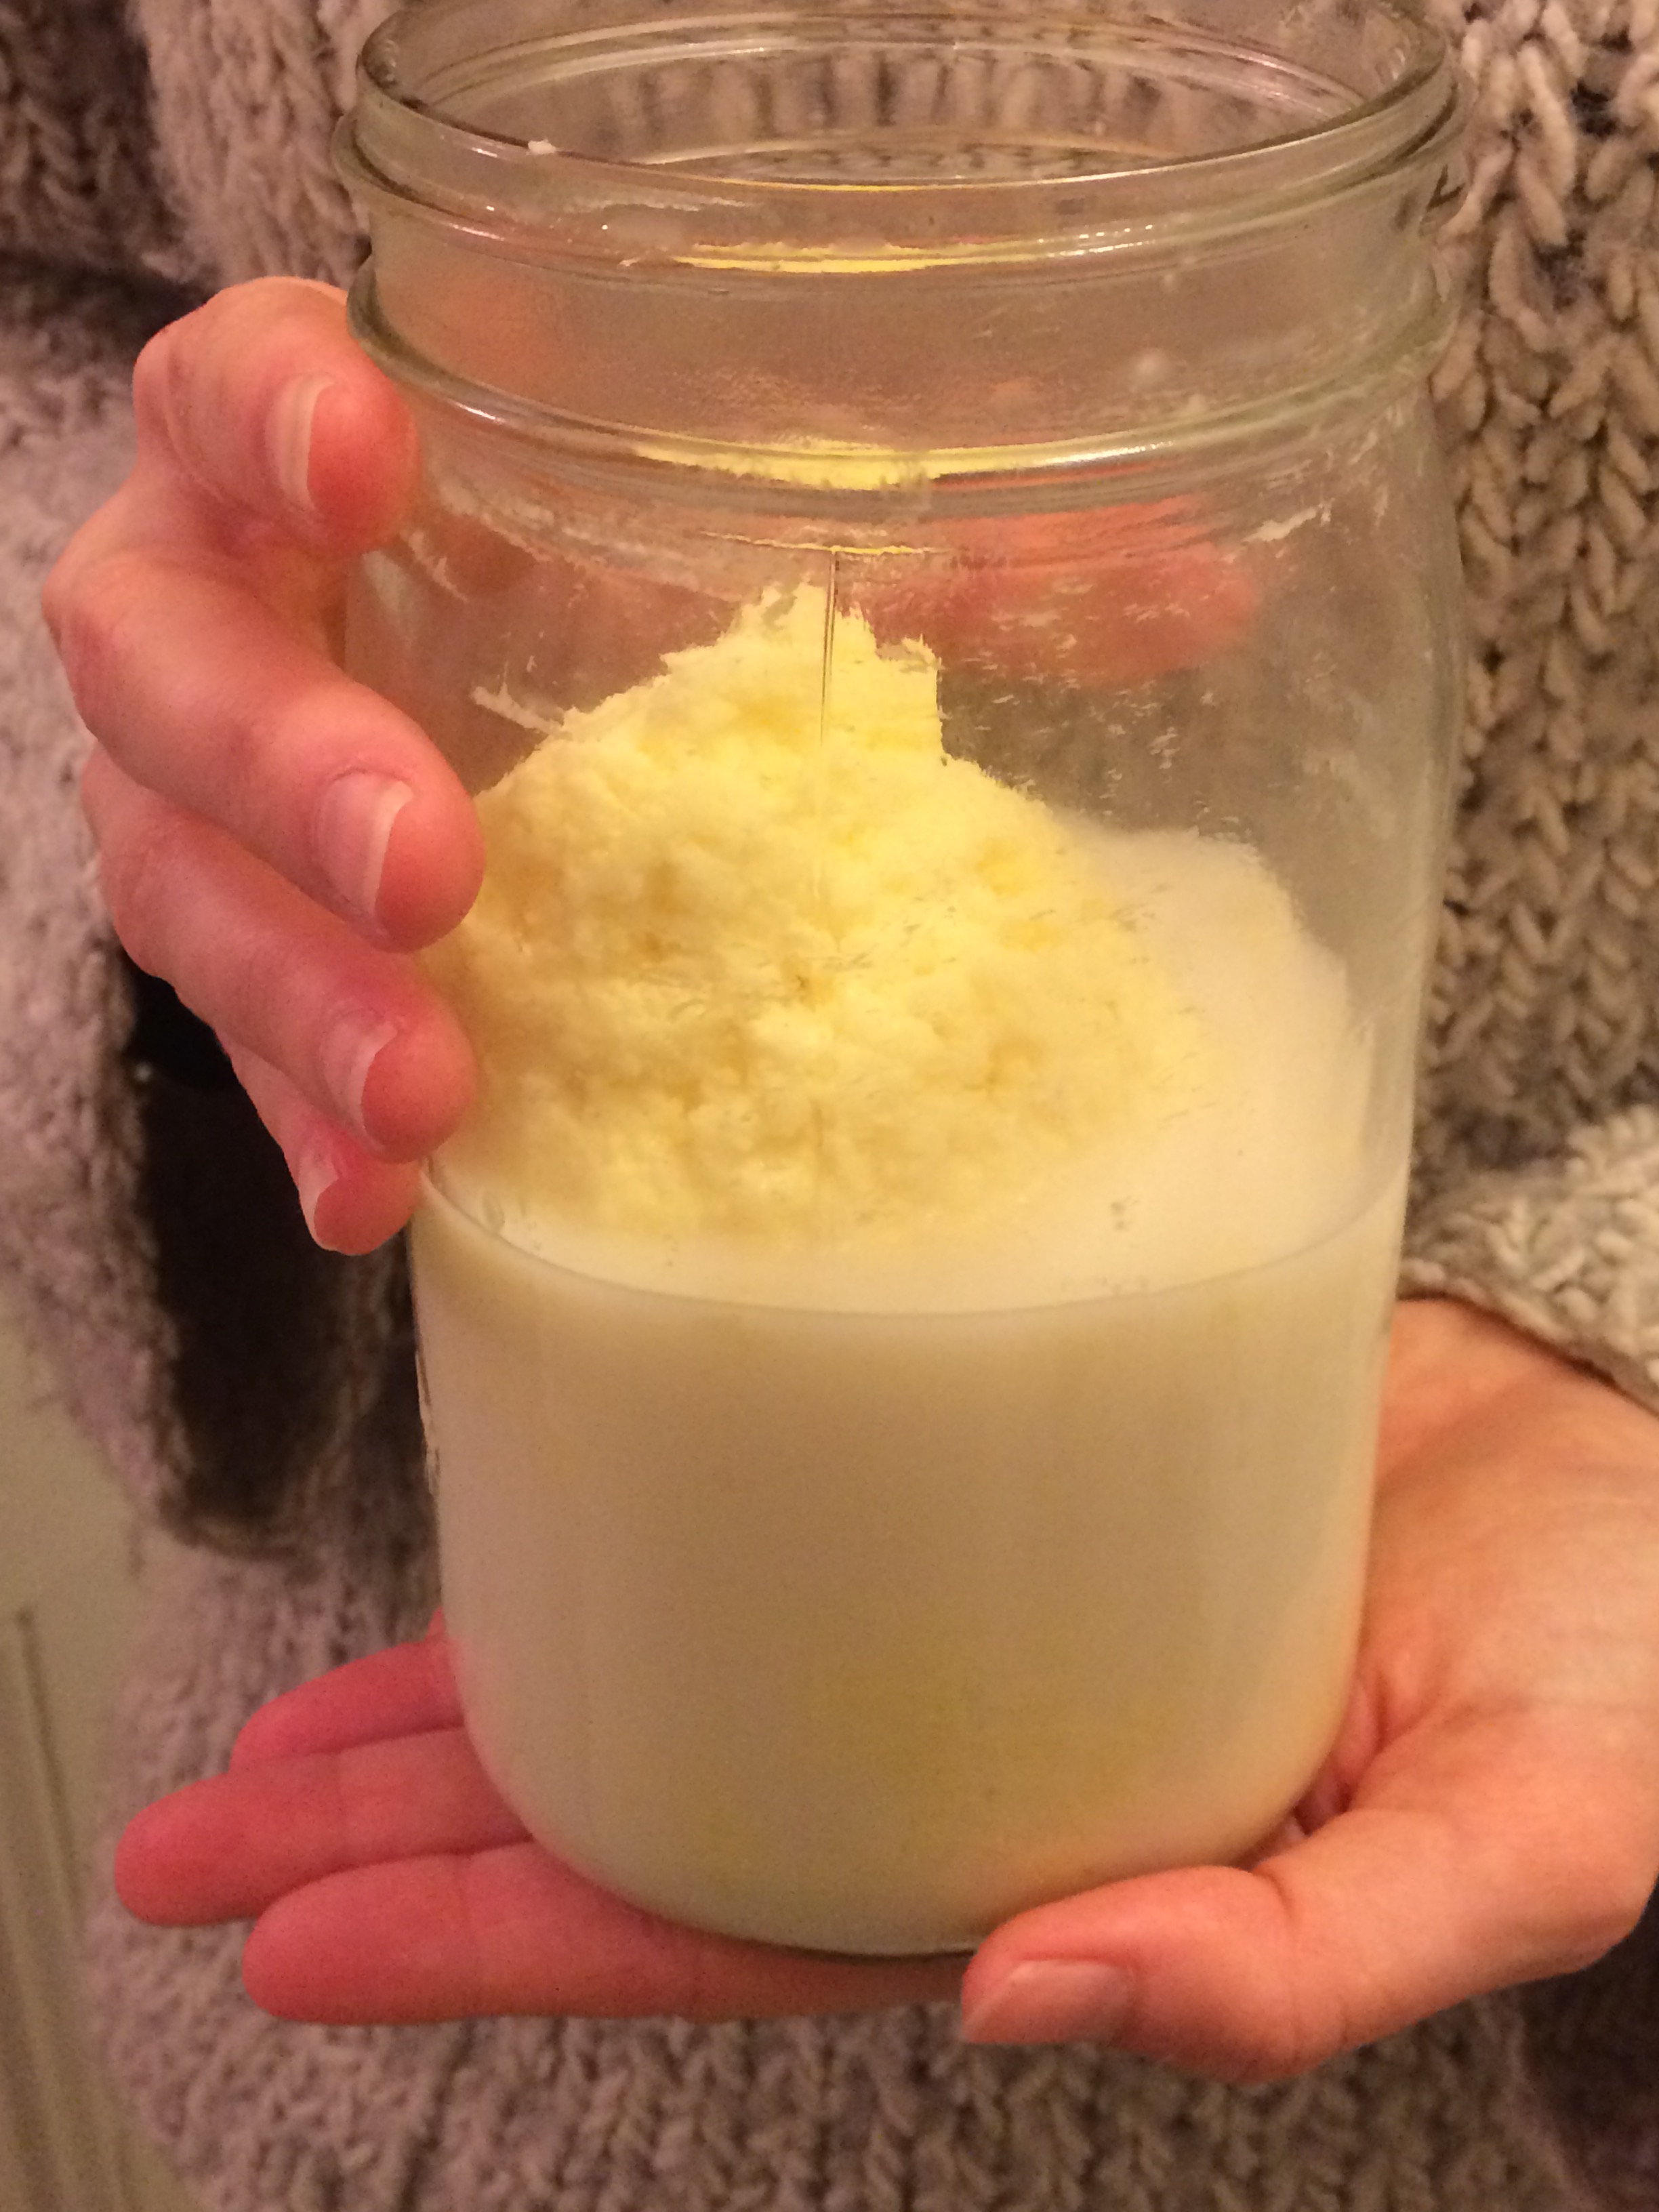 s taking turns at the butter churn, moving the cream up and down for what seemed like an eternity. When it was finished my teacher handed each of us a saltine cracker and generously spread the fresh butter onto each one. As a child raised on margarine this was likely the first time I had ever tasted real butter. I still remember biting into the cracker and tasting how fresh and creamy it was. Now, decades later I am returning to that memory and happy to say it is as good as I remember!
How to make butter (for those without a churn)
There truly is nothing simpler! Get one pint of high quality heavy whipping cream. Place it into a one quart mason jar.  Start shaking. Pass the jar to someone else, keep shaking and shaking.
At first it will turn into fluffy whipped cream, after this it will separate and you will magically be left with butterfat and buttermilk. Pull the butter from the jar, run it under cold water and carefully squeeze it, removing as much buttermilk as you can. Repeat this step until the water no longer looks milky. Salt if desired and enjoy!
If you decide to refrigerate the butter, it will be much harder than ‘normal’ butter. This is due to the higher fat content in the homemade stuff.
For more information go to: http://www.ameliedemahylac.com


Recent Comments